

How To Transfer A Picture Onto Glass Using Mod Podge
Leap to How-To
Use Modern Podge to do a photograph transfer to glass! The decal method is the almost successful way to get transfer on glass that I've found. Roll down to the bottom of this post to come across a video of this method in activeness!
Skills Required: Intermediate. You should expect some trial and error with this project. The decals are somewhat thin and information technology takes some exercise to learn how thick to brand the medium and how much paper to rub off. Information technology helps if you've used Modernistic Podge or photo transfer medium earlier.
Nothing makes a firm feel more like a home than pictures of friends and family. I specially love collecting and displaying onetime photos that family members haven't seen.
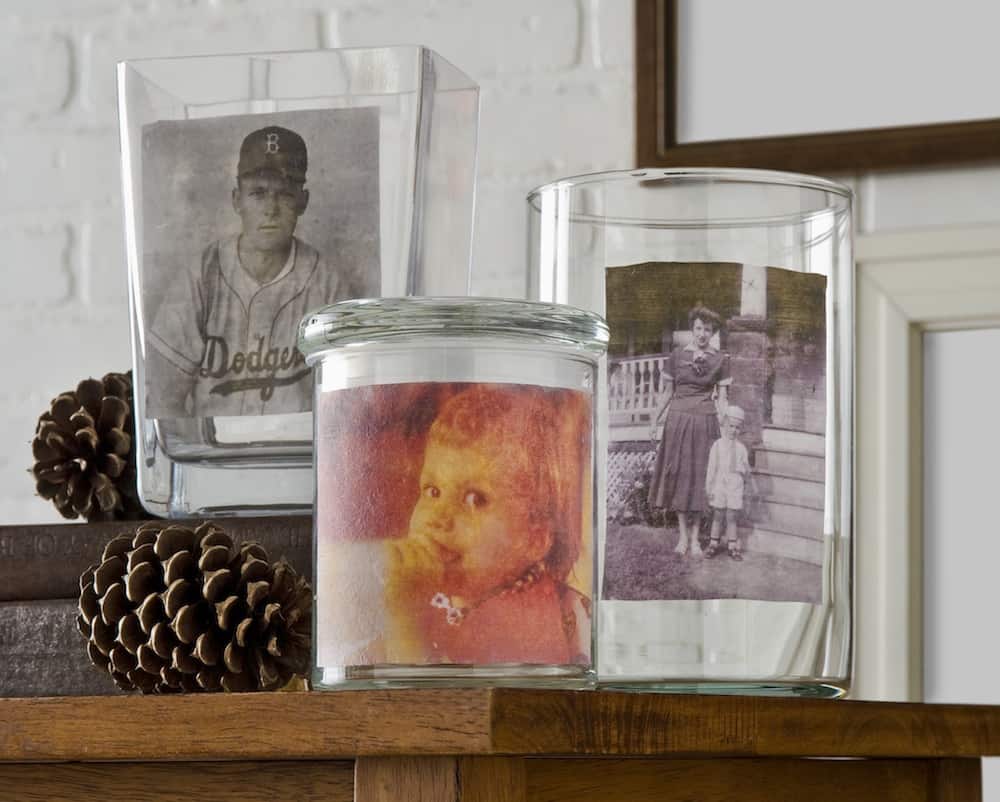
Here is an interesting way to display vintage photos on glass vases using a Mod Podge photo transfer process – it's call the decal method. What I like about it is that the photos wait very rustic after being transferred, so this project goes well with farmhouse decorating.
Photograph Transfer to Drinking glass
The decal method is the almost successful way of doing a photo transfer to glass that I've always found and I highly recommend information technology.
Allow's dive into the decal method and into a few ofttimes asked questions y'all might take about transferring photos to glass earlier I share the tutorial with you. I've done this a lot and take failed a lot, so I'1000 excited
The Decal Method
I'm sure you lot've noticed that glass is a slick surface. You lot can Modern Podge a photo direct to glass, simply tin y'all photograph transfer to glass? The reply is no – not directly. Y'all'll need to utilize the "decal method."
In the decal method, yous're going to print out photos on printer paper (non photo paper) and then paint them with Mod Podge photo transfer medium.
You'll allow that dry, rub away the paper, and a decal of the medium volition be left backside. Yous're going to use this as a decal to place on the glass. The nice thing about this method? It's basically a drinking glass cling, and yous can (typically) remove it and reuse every bit necessary.
(Another related method is the packing tape image transfer if you want to bank check that out! It works on drinking glass as well simply has a different effect).
Inkjet or Laserjet?
Typically y'all'd exercise this photograph transfer to glass with laserjet copies. But the rule isn't that you utilise a laserjet – the rule is that y'all use a dry ink toner.
My point is, I really used my HP inkjet printer for this photograph transfer, because the ink that HP puts in their cartridges is very dry.
If you accept any doubts as to whether your inkjet printer has a dry out ink, you can get ahead and attempt this first with the photograph transfer medium and come across if it works. If it doesn't, go to Staples or Kinkos and get laserjet printouts. Recall to utilise regular paper – not photograph paper.
Transferring Photos – Tips for Success
What are my most of import tips for a photograph transfer to glass? Here they are:
- Use amedium layer of the transfer medium – obscure the image entirely so yous can't see any portion of it. Thicker is amend than thinner, otherwise your decal volition exist likewise thin and tear easily.
- Reverse whatever images with words so that they appear correctly when the transfer is complete.
- Utilize thinner printer paper. You are going to rub away all the paper, then nothing too thick – 20 lb or less is good.
- Don't rub too much in one identify or you lot'll tear the decal. Wet, rub, let dry out a little, then echo. The decals are slightly fragile.
- Empathize that the images are always going to have a vintage look. This is the case when you transfer any image to wood, canvass, etc. as well. That is the upshot of using this medium.
Ready for the project? Let'due south get to information technology – and larn how to transfer photos to glass using the decal method.
These vases are a bang-up way to showcase some of the keen times you've had with your family and friends over the summer. I'd recommend keeping some and giving others away as handmade gift ideas. Add together fun fall items, like pine cones, for ambience.
Transfer a Flick to Glass
Gather These Supplies
- Glass vases of various sizes
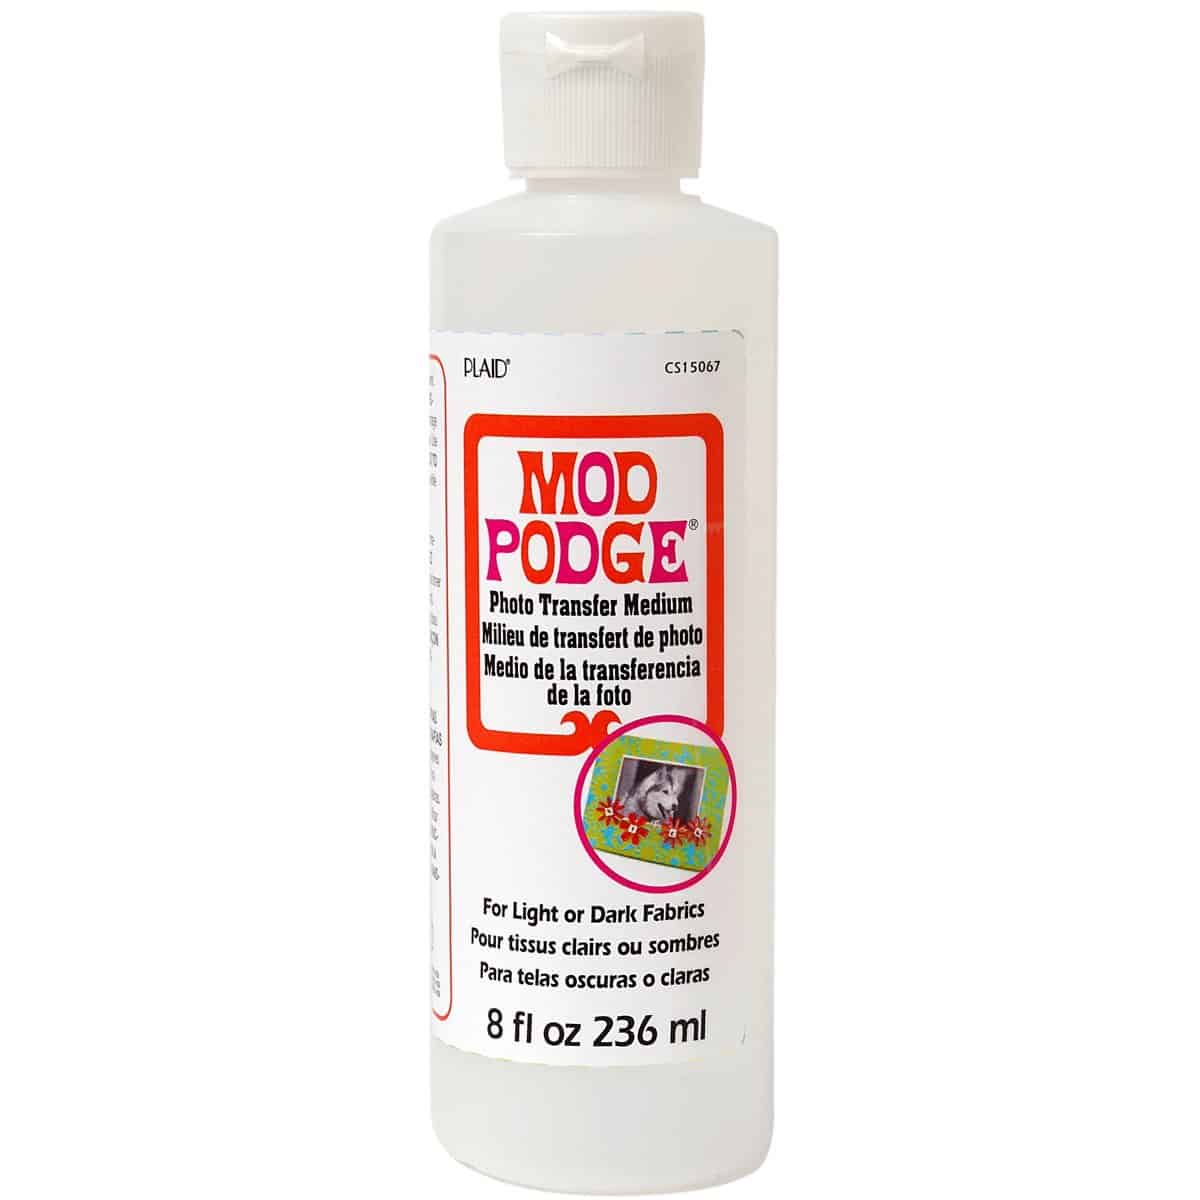
- Mod Podge photo transfer medium
- Printer and paper
- Foam brush
- Pair of scissors
- Wax paper or a silicone mat
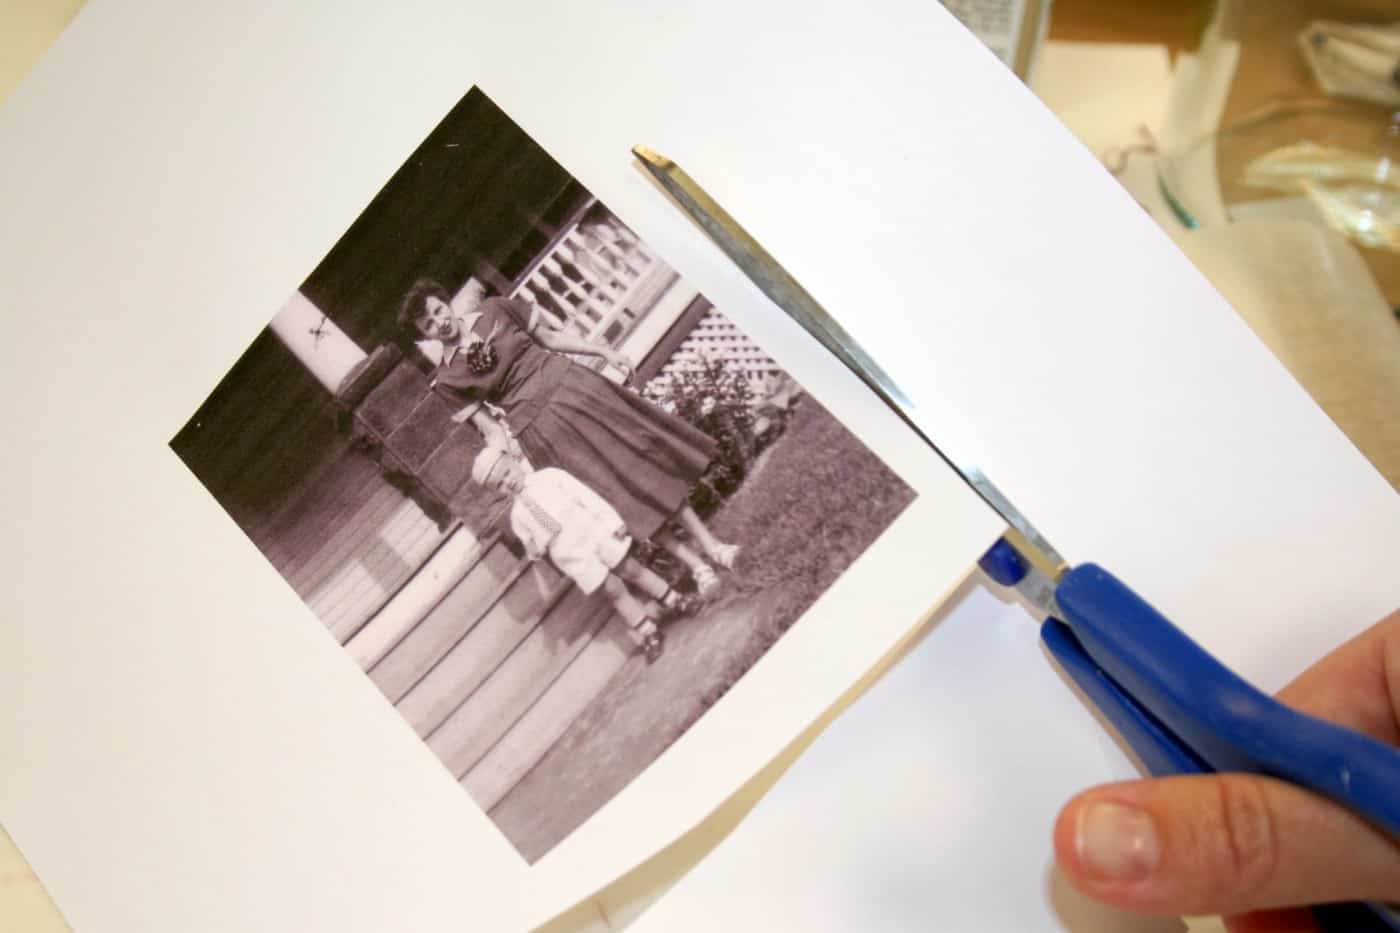
Impress out your images on your printer and cut them out with the scissors. Leave approximately a 1/two" – one" border around the image.
TIP: If there is whatever writing or text in the photograph, contrary the image before press to brand information technology readable.
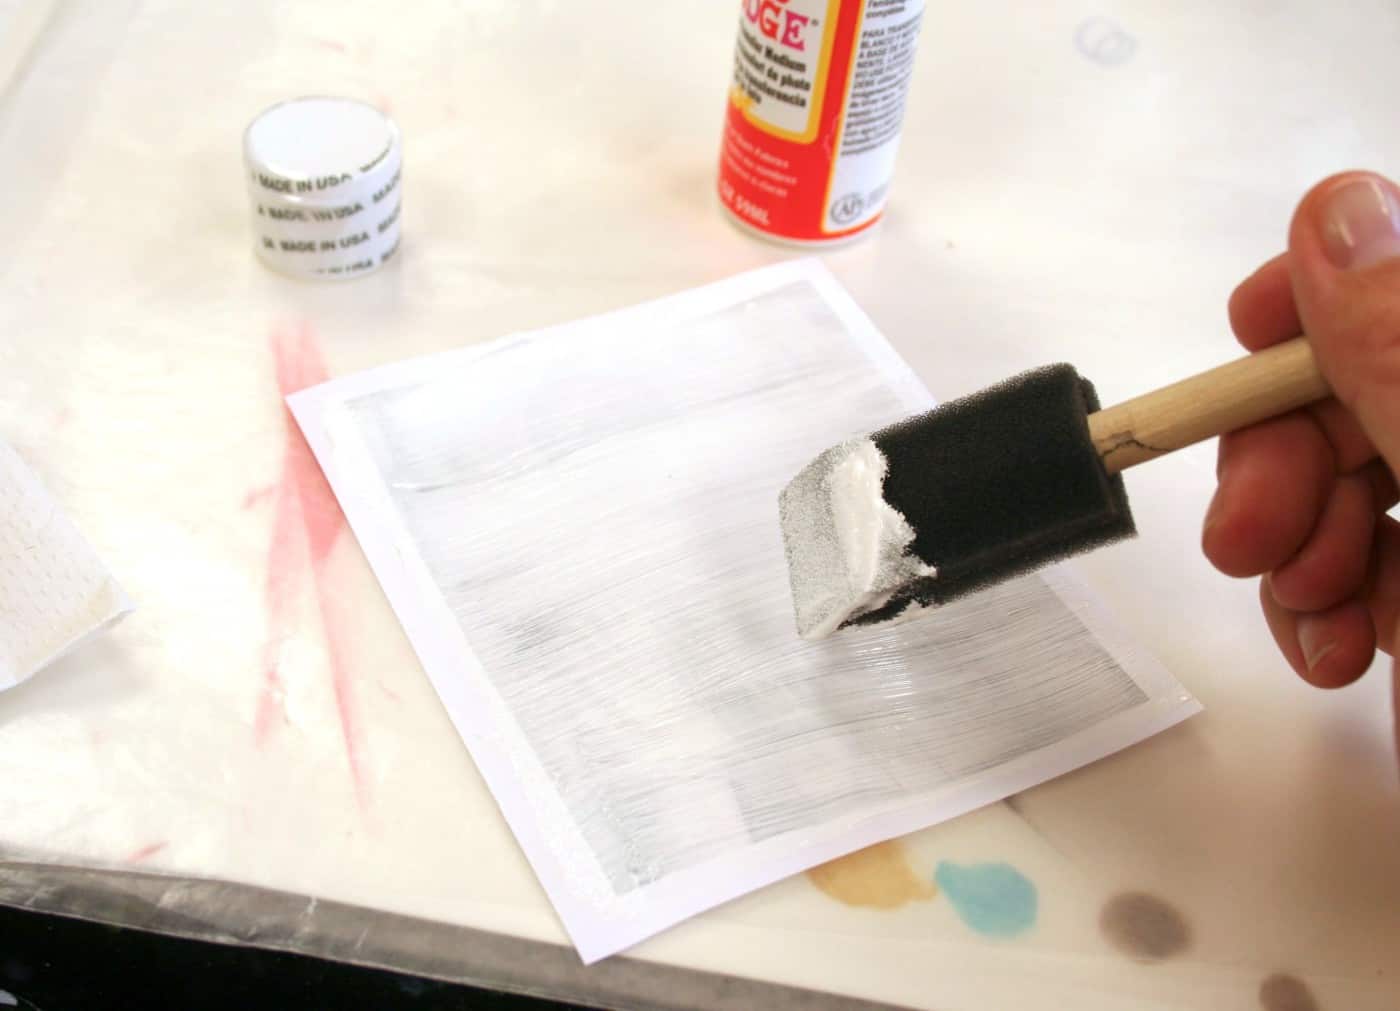
Lay your photos face up on a piece of wax paper. Spread Modern Podge in a thick layer using the foam brush until you lot tin can no longer come across the photo. Then place on a separate piece of wax paper to dry out. (keeping the photo transfer medium and photo face up).
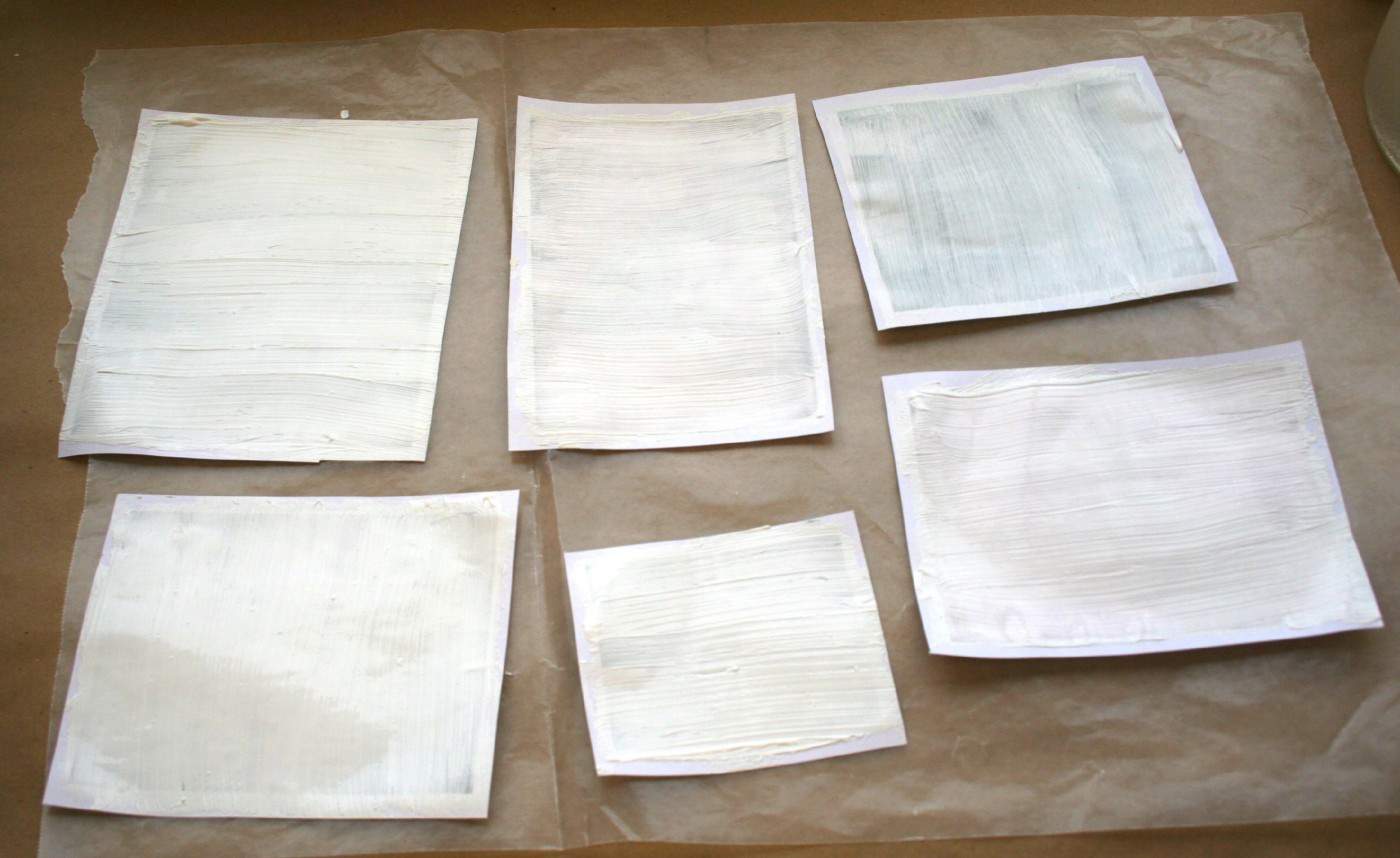
Permit your photos completely dry overnight on the wax paper.
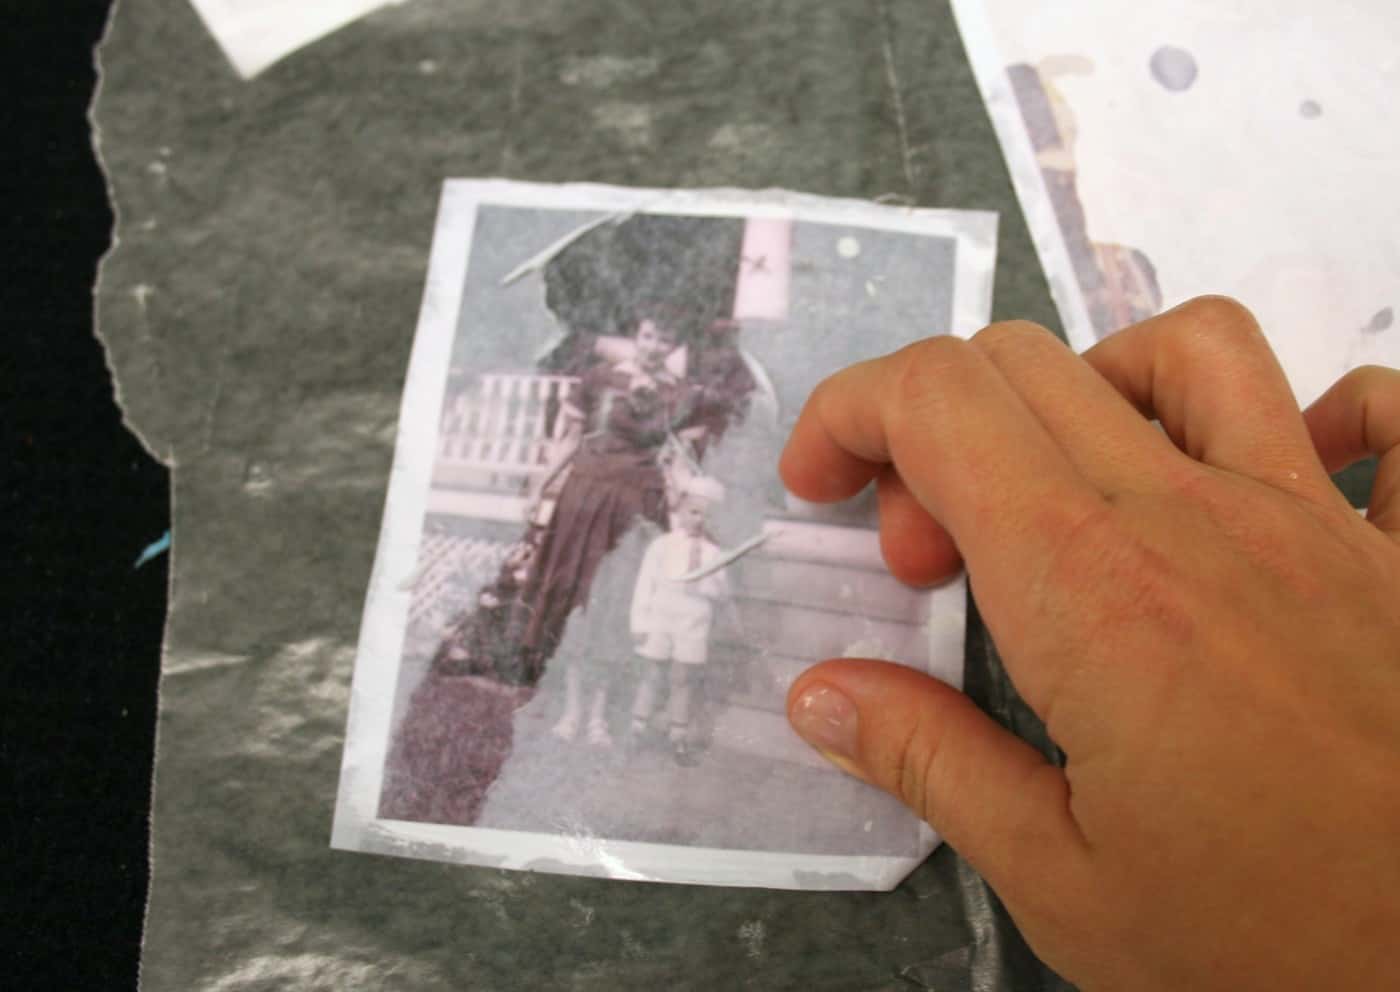
In one case dry, turn your photo over, dampen in the sink (or with a spray bottle) and start rubbing away the paper. You can use your finger and medium force per unit area.
TIP: Don't rub too long in i place or y'all will tear the image.
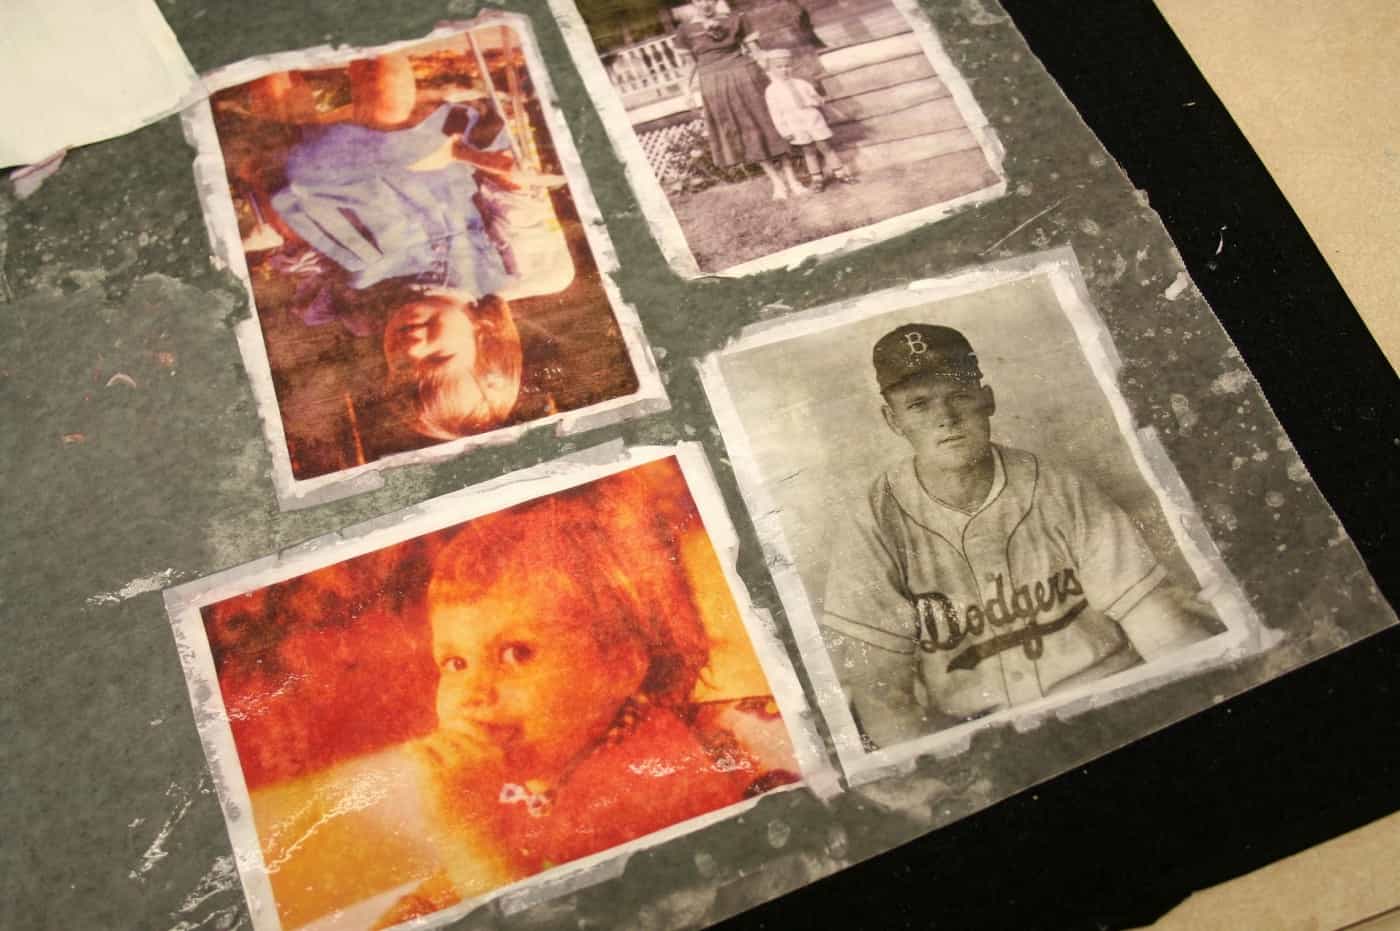
Let the photos dry out and encounter if there are additional areas where yous demand to rub away paper. Keep to be gentle when rubbing.
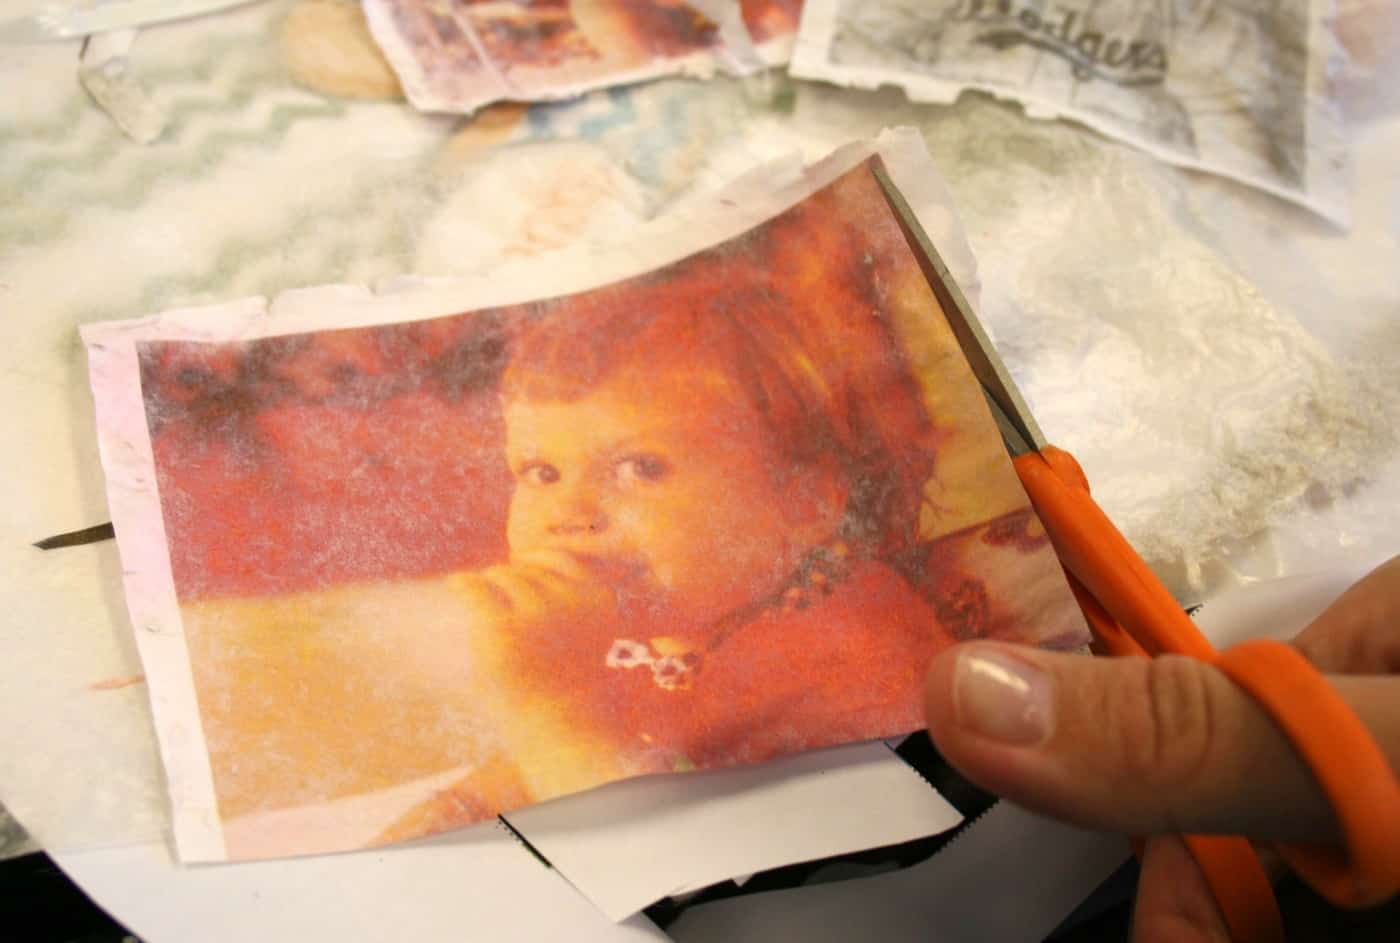
Cut out the images and adhere the photos to glass. They will stick if yous rub, then rub carefully. If you lot don't press them downwards too hard, they can be peeled upwards and reused.
I love the idea of doing this photograph transfer to glass on recycled glass bottles, bricklayer jars, or any other containers you can become from the thrift shop.
Surprise your family unit with sometime photos when they come over – you can even inquire them to guess who is in the photo!
Encounter how to make these photograph transfer decals in the video in this mail! Simply click play to learn how.
If you love this photograph transfer to glass, be sure to create your own version and share with me in the comments! Exist sure to share with your friends on Facebook, Twitter, and Pinterest.
Prep Time 30 minutes
Active Time 45 minutes
Dry Time i mean solar day
Total Time 1 day 1 60 minutes 15 minutes
Difficulty Intermediate
Estimated Toll $ii
Materials
- Glass vases of diverse sizes
- Mod Podge photo transfer medium
Tools
- Printer and paper
- Foam brush
- Scissors
- Wax newspaper or a silicone mat
Instructions
- Print out the images and cut out with the scissors. Leave approximately a 1/2" - 1" border around the epitome.
- Lay the photos face up on wax paper. Spread Modernistic Podge in a thick layer using the foam castor until you lot tin can no longer run across the photo. Then identify on wax paper (keeping the photo transfer medium and photo face up).
- Let the photos completely dry overnight on the wax paper.
- One time dry out, turn a photo over, dampen in the sink (or with a spray bottle) and outset rubbing away the paper. You can apply your finger and medium pressure.
- Let the photos dry out and see if in that location are boosted areas where y'all demand to rub abroad paper. Continue to be gentle when rubbing.
- Cut out the images and attach the photos to glass. They will stick if you rub, and so rub advisedly.
Notes
TIP: If there is whatever writing or text in the photograph, reverse the epitome before printing to make it readable.
And if you lot desire more articles about Modernistic Podge photo transfer medium, bank check out the posts below!

How To Transfer A Picture Onto Glass Using Mod Podge,
Source: https://modpodgerocksblog.com/mod-podge-photo-transfer-to-glass/
Posted by: forresterbableand.blogspot.com
0 Response to "How To Transfer A Picture Onto Glass Using Mod Podge"
Post a Comment